Choose a drawer box by working from the packed product outward. Establish the product arrangement, decide whether an insert is needed, and then review the tray, sleeve and opening action together. A drawer box that looks suitable when closed can still be difficult to load, slide or unpack.
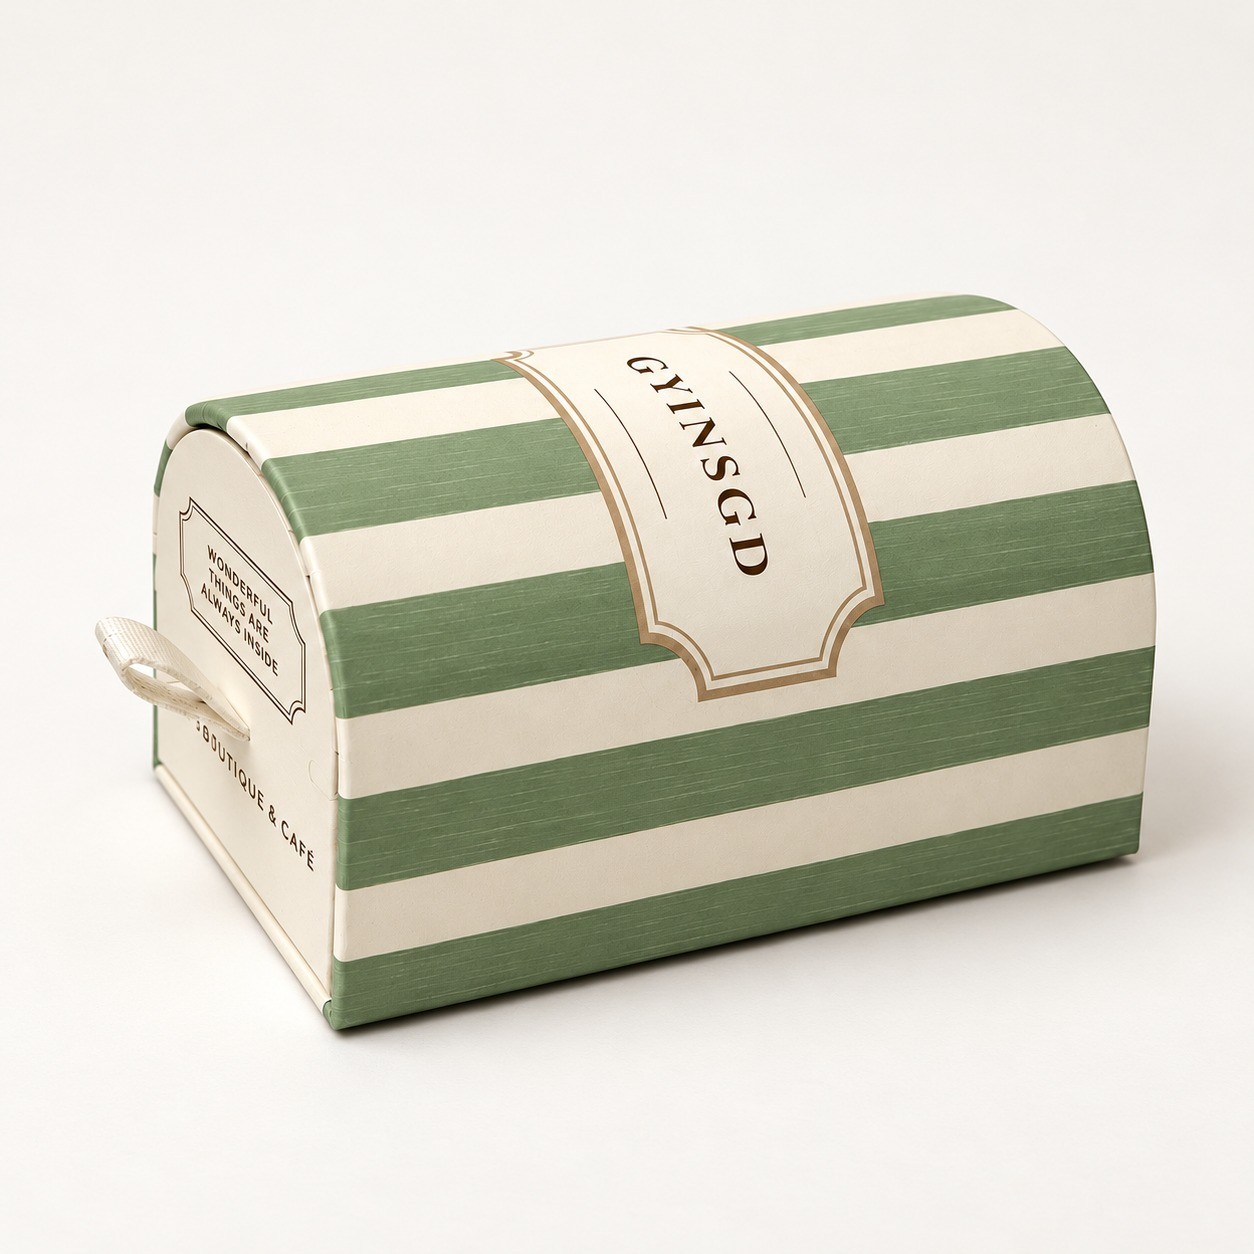
The arched sleeve shapes the box, while the ribbon provides a grip for opening the tray.
Check how the box will be opened and used
A drawer box uses a tray that slides out of an outer sleeve. Before discussing decorative finishes, consider how the recipient will hold and open it. Will the pack be presented on a table, taken from a retail shelf, or opened after delivery? Is there room to draw the tray out without tipping the contents?
A sliding reveal can suit a gift presentation, but it also needs clearance in front of the opening. If a customer must unpack it in a confined space, compare that action with another structure before committing. Draw the direction of opening on the brief; orientation affects the product arrangement and artwork.
The arched drawer box with ribbon pull shown here has a curved outer sleeve and an open tray. Use the structure as a starting point, then specify the material and internal space for your own products.
Separate three kinds of measurement
| Measurement | What it answers | What to provide or request |
|---|---|---|
| Packed product dimensions | What must fit inside? | Each item, including wrapping and accessories, in its intended orientation |
| Usable internal space | What room remains for the contents? | The proposed space after any insert, lining or other internal components |
| Closed external dimensions | How large is the finished pack? | The assembled box size for display, outer packing and storage planning |
A supplier's length, width and height labels should be tied to a drawing. Mark the pull end and identify whether dimensions refer to the contents, tray interior or complete closed box. Use one unit consistently.
For a shaped sleeve, a maximum outside measurement does not fully describe the usable space. Ask to see the proposed cross-section or physical sample, particularly where the profile curves or narrows. Do not infer available height from the tallest point alone.
Decide what an insert must do
An insert is useful when it has a specific job: separating items, locating a product or supporting a presentation. Begin with that job rather than selecting a material from a photo.
| Packing need | Direction to discuss | What to check |
|---|---|---|
| One already-boxed item | An open tray, with additional support only if needed | Movement during intended handling and access for removal |
| Several items in fixed positions | A fitted insert or dividers | Spacing, orientation, packing order and individual removal |
| A scratch-sensitive, printed or decorated surface | Support that avoids rubbing or pressing on sensitive areas | Pressure points, rubbing and contact with decorative surfaces |
| Individually wrapped confectionery | Compartments sized around the wrapped pieces or cups | Packed height, contact conditions and required material documentation |
Check contact points, removal and assembly
Mark where the insert may touch each product and where contact should be avoided. For a printed bottle, for example, identify the label area before reviewing support points.
Next, check removal. A closely fitted cavity may hold an item securely but leave no room to grip it. Ask the supplier to show how the recipient will lift each item out, whether that means finger access, a pull tab or another suitable detail. Review the proposed detail on a sample rather than adding it to the artwork alone.
Include the packing team in the review. They should be able to place the insert, load the products and close the drawer without forcing parts into position. If the insert needs assembly, ask to see the steps. Share the target quantity and budget so the supplier can compare feasible constructions without adding complexity that your pack does not need.
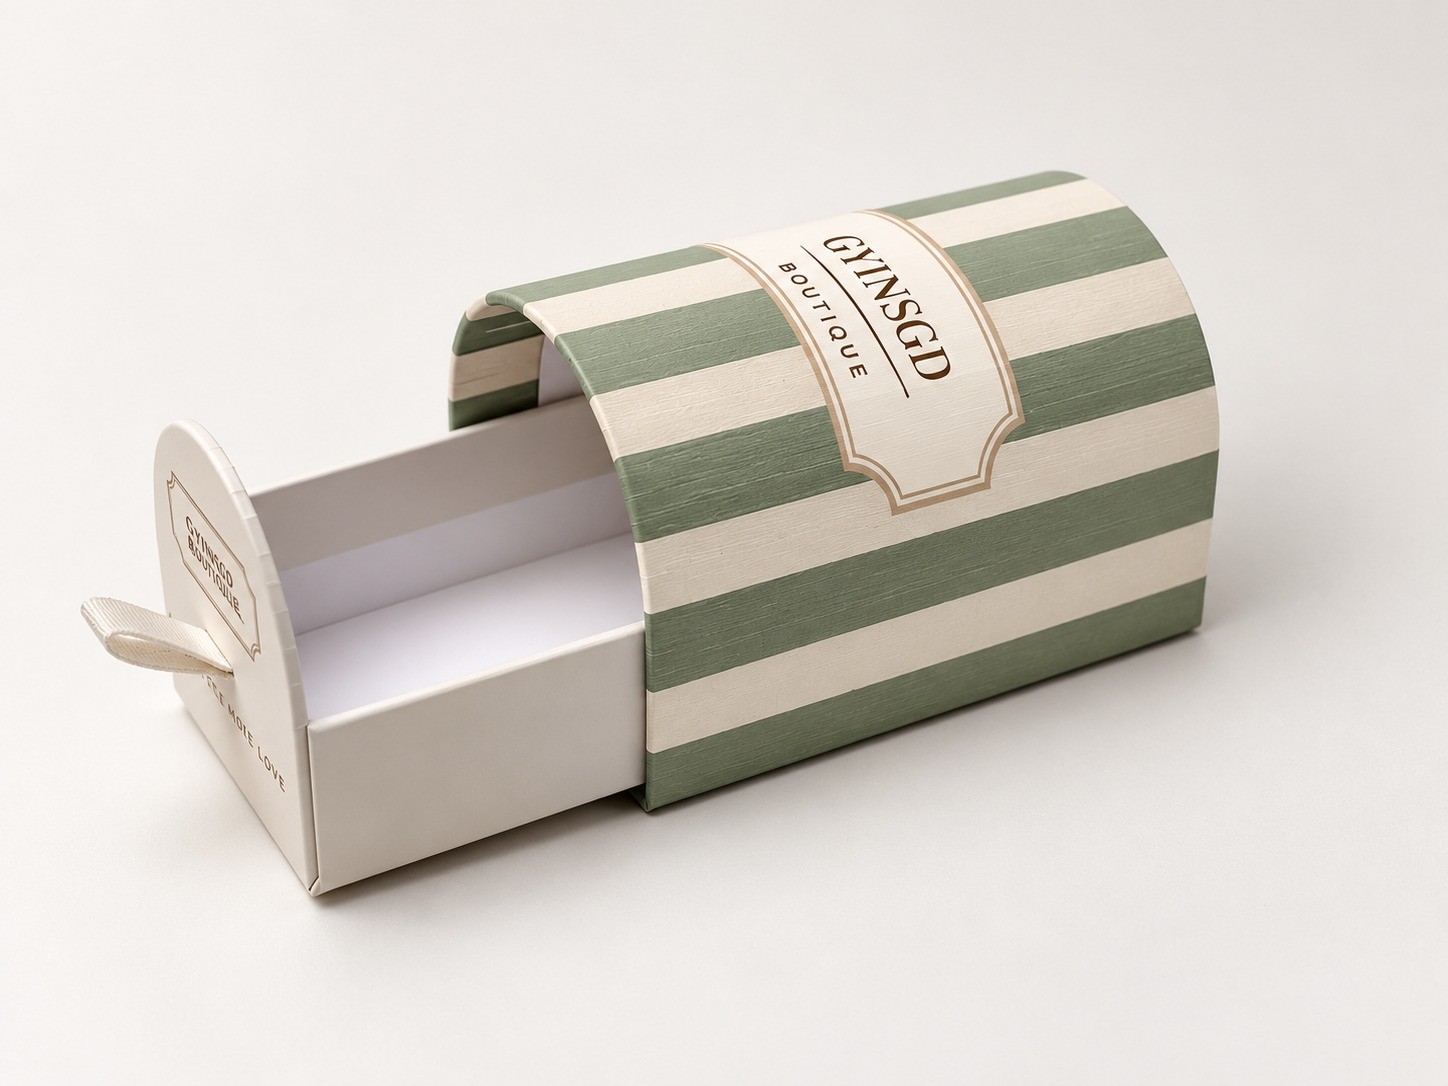
Open tray and ribbon pull beneath the curved sleeve.
For a gift set with two different items, check how each is placed in and removed from the insert. A tight fit may hold an item yet catch its label during removal. Use the actual products where possible. If you use substitutes, record which checks still need to be repeated with the actual items.
Check the tray and sleeve with the contents inside
Review the sliding action after loading the tray and adding the intended internal components. A good-looking empty sample cannot answer whether a tall product will catch the sleeve or whether an insert will shift.
Open and close the sample in the intended orientation. Observe whether the sleeve needs to be squeezed, whether the tray rubs or jams, and whether the contents move or obstruct closure. Ask the supplier to investigate the observed issue rather than prescribing an arbitrary gap or board change yourself.
Ask the supplier to propose the clearance for the selected construction, then check the fit with the actual products in a loaded sample. Keep the approved drawing and sample reference together so later orders can be checked against the same specification.
Treat the ribbon pull as an opening component
Specify where the pull sits, the visible loop you want and how it is attached. Check whether a finger can grip it comfortably and whether it interferes with nearby graphics or outer packing.
Use the pull to review the intended opening action. Do not assume it is a carrying handle or that the box can be lifted by the ribbon. If the tray must stay in position when the closed box is tilted or handled, describe that requirement separately and ask how the proposed construction will meet it.
For artwork, check the pack both closed and open. The pull-end panel, sleeve and tray can face different directions during opening; review text orientation and the placement of important information on an assembled sample.
Plan the outer pack separately
A presentation drawer box is not automatically a parcel-ready shipping package. Describe the delivery route and whether it will travel alone or with other items. Review any protective outer packaging and the way the drawer is kept in position during the intended handling.
For courier delivery, review the gift box, contents and protective outer packaging as a complete pack, and agree any transport testing required for the intended route.
What to confirm before production
Prepare a brief with the item dimensions and weights, arrangement, opening direction, insert purpose and artwork status. Add quantity, destination and desired delivery date when known. Before approval, confirm:
- The sample and drawing revisions match the proposed construction.
- The actual contents can be loaded, held and removed as intended.
- The loaded tray opens and closes without obstruction.
- The ribbon pull is accessible and its attachment has been reviewed.
- Artwork reads correctly on the assembled pack.
- Any food-contact or transport requirements have been addressed with appropriate documentation or agreed evaluation.
For food projects, the material name or product photograph alone does not establish suitability for direct contact. Identify any individual wrapping or liner and the intended contact conditions before approving materials.
Explore our drawer box collection and share your intended contents and arrangement to begin a project discussion.
A drawer box brief you can send to a supplier
We are developing a drawer box for [product or set]. The packed items measure [labelled dimensions and units] and weigh [weight]. They will sit [describe the arrangement], with the tray opening towards [marked direction on the attached sketch]. The insert needs to [hold, separate or display the items]. Please propose the usable internal space, closed external dimensions, insert construction and ribbon pull detail. We would like to review a sample with the actual products before approving the structure.
Attach product photographs and identify any surfaces that must be protected. Include your quantity, delivery destination and artwork status so the supplier can prepare a relevant proposal.
Frequently asked questions
Does every drawer box need an insert?
No. Start with how the product must be held and presented. Compare an open tray with proposed support using the actual contents; add an insert when it performs a necessary job.
Should I request internal or external dimensions?
Provide the packed product dimensions and ask the supplier to identify both the usable internal space and closed external size. Each answers a different procurement question.
Can the ribbon pull carry the filled box?
Treat it as an opening component unless a carrying function has been expressly designed and evaluated. Opening and carrying are different requirements.